
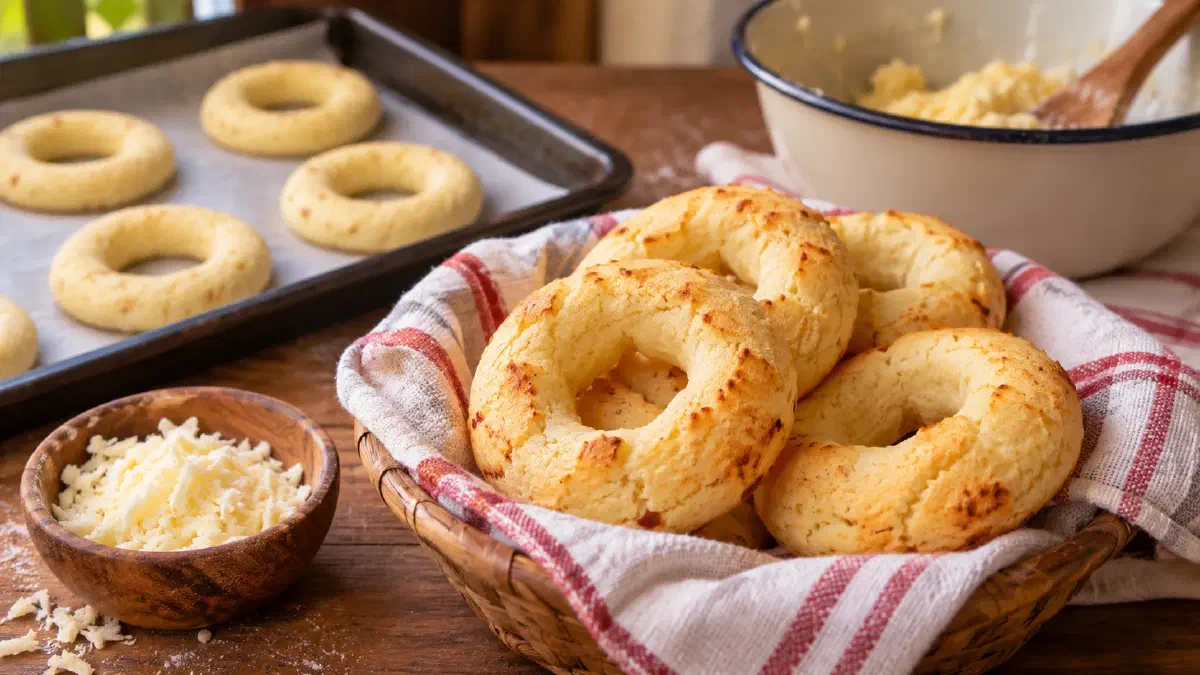

You will find chipa in many everyday settings in Paraguay: on the table at home, at mobile food stalls, and in chiperías. This savory cheese bread is especially popular straight from the oven, while it is still warm.
Chipa almidón is one of several traditional Paraguayan varieties of chipa. It is made with cassava starch and cheese, but no cornmeal.
This basic recipe uses just a few ingredients and shows you how to bake these traditional rings in your own oven.
📝 Basic Chipa Almidón Recipe: Step by Step#
- Difficulty: Easy
- Prep time: about 25 minutes
- Baking time: about 20 minutes
- Total time: about 45 minutes
- Yield: about 12 rings
🛒 Ingredients for Chipa Almidón#
For the basic recipe, you will need:
- 500 g cassava starch (almidón de mandioca or fécula de mandioca)
- 250 g Queso Paraguay
- 125 g lard
- 2 eggs
- about 100 ml milk, as needed
- ½ tsp anise seeds, optional
- ½ tsp fine salt, depending on how salty the cheese is
Important note about the starch:
You need pure cassava starch for this recipe. Outside Paraguay, it is often sold as tapioca starch. Regular cassava flour and tapioca pearls are not substitutes. We explain why in our article on cassava in Paraguay.
What Ingredients Can You Substitute?#
Queso Paraguay: You can use a mild, fairly firm fresh cheese or farmer’s cheese, or firm, well-drained ricotta. Well-drained mozzarella, possibly combined with a little feta, may also work, but it will change the flavor and how the cheese melts.
Lard: You can also use butter. Its water content may change how much milk you need. Vegetable oil is another option, but you cannot substitute it for lard in equal amounts.
Kitchen Equipment#
- large mixing bowl
- kitchen scale and measuring cup
- baking sheet and parchment paper
👩🍳 Step-by-Step Instructions#
Prepare the Ingredients and Oven#
- Preheat the oven to 230°C (450°F) on the regular bake setting and line a baking sheet with parchment paper.
- Crumble the Queso Paraguay and have the milk ready.
- The lard should be soft but not melted.
Method#
Mix and knead the dough
Mix the softened lard and cheese with your hands in a large bowl. Mix in the eggs, then add the cassava starch, optional anise seeds, and a little salt to start. Mix everything thoroughly and add the milk gradually. Knead until you have a soft dough that holds together and is easy to shape without sticking to your hands.
Important: The 100 ml of milk is a guideline. Depending on how moist the cheese is, you may need a little less or a little more. Check the dough as you go.
💡 How to Check the Dough Consistency
Take a small portion of dough and roll it between your hands or on your work surface. Look for these signs:
- When rolling, the dough holds together without breaking into dry pieces.
- When bending, you can bring the ends of the rope together to form a ring. Small surface cracks are fine, but deep breaks may mean the dough is too dry.
- When set down, the ring keeps its shape without spreading.
- To the touch, the dough feels soft and slightly greasy without leaving a sticky film on your hands.
Quick fix: If the dough crumbles, first knead it a little more, then add a little milk if needed. If it is too soft or leaves a greasy film on your hands, check whether the fat is too warm or the cheese is especially moist.
Shape and bake the rings
Divide the dough into about twelve portions and roll each one into an even rope, roughly as thick as your thumb. Join the ends to form rings and place them on the baking sheet with a little space between them. You can also shape small, straight pieces.
Keep the thickness even: Very thin pieces can dry out faster, while thicker ones need a little longer in the oven.
Bake the rings on the middle rack for about 15 to 20 minutes. Depending on your oven and the size of the rings, they may need a little longer. Check for doneness toward the end of the baking time.
The tops should have a few light golden spots, and the bottoms should also have a little color. But color alone does not tell you if they are done. The chipa should be baked through but still soft inside.
Let the rings rest for a few minutes and serve them while they are still warm, if possible.
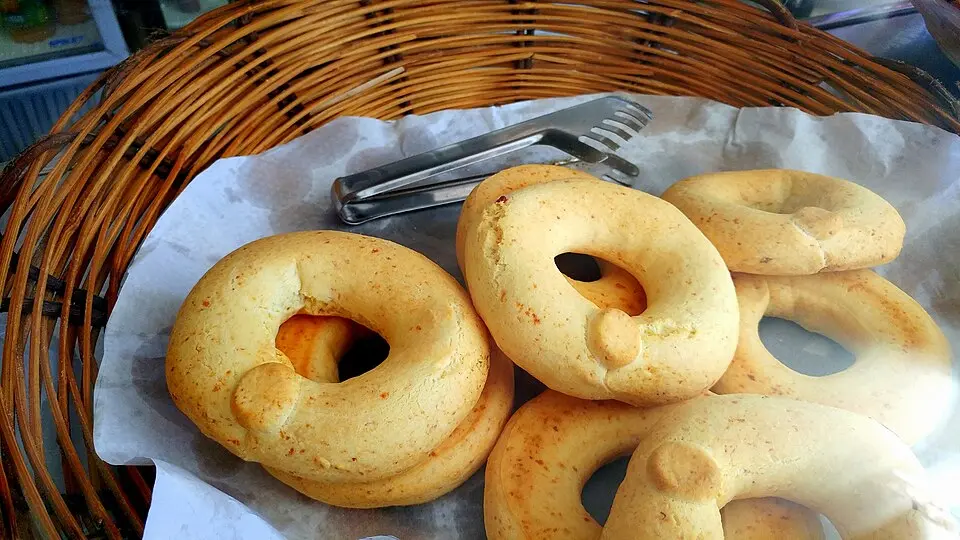
For easy reference while baking, you can also use the shorter version: Jump to the Chipa Almidón recipe card
Nutrition Information#
The nutrition estimates are for one ring made with the basic recipe:
- Calories: about 320 kcal
- Protein: about 6 g
- Carbohydrates: about 38 g
- Fat: about 16 g
- Fiber: less than 1 g
These calculated estimates may vary depending on the cheese, amount of milk, and size of each piece.
🛠️ When Chipa Doesn’t Turn Out Right: Common Problems and Fixes#
The moisture in the dough and cheese, along with the baking time, affects how chipa turns out. These tips will help you spot common problems and fix them.
| Problem | Possible Cause and What to Do |
|---|---|
| The dough crumbles or cracks when shaped. | If the dough is too dry or has not fully come together, knead it more thoroughly and add a little milk if needed. Thin ropes break more easily; small surface cracks are fine. |
| The dough feels sticky or leaves a greasy film on your hands. | Too much liquid, very moist cheese, or overly warm fat may be the cause. Check the temperature first. If there really is too much liquid, carefully add a little starch. |
| The chipa spreads in the oven. | The dough may be too soft, or the substitute cheese may melt too much. Next time, use less liquid and make sure the oven is fully preheated. |
| Browned outside but still doughy inside. | The pieces may be too thick, or the oven heat may be uneven. Next time, adjust the thickness or oven setting. A soft, slightly springy center is normal. |
| The chipa turns out hard or dry. | Common causes include baking too long, making the pieces too thin, or starting with dough that is already dry. Shape the pieces evenly and check for doneness earlier. Chipa also naturally becomes firmer as it cools. |
🔄 Other Chipa Varieties#
Besides Chipa almidón, there are other traditional Paraguayan varieties of chipa:
- Chipa mestiza (Chipa jehe’a): This combines cassava starch and cornmeal, so it is usually a little more yellow and denser, with a stronger corn flavor than Chipa almidón.
- Chipa kandói (also Chipa manduví): A traditional variety made with peanuts, which give it a distinctive nutty flavor.
- Chipa so’o: This variety has a savory meat filling and is usually more filling than the classic cheese rings.
- Chipa asador (Chipa kavure): The dough is shaped around a stick and cooked over embers. It needs to be firm enough to stay on the stick. This variety is also one of the typical San Juan dishes.
- Chipa pirú (Chipita): Small, dry, crunchy chipa that are noticeably firmer than Chipa almidón.
Don’t confuse the two: Despite the similar name, Chipa Guasu is a moist corn casserole rather than shaped cheese bread.
🇵🇾 About the Recipe#
Alongside Chipa almidón, the name Chipa de almidón is also commonly used. In Guaraní, it is called Chipa aramirõ. The spelling Chipá, with an accent, is found in Paraguay as well as in countries such as Argentina. It does not mean a different type of chipa.
Chipa in Everyday Paraguayan Life#
Chipa is a popular small meal at breakfast, during the afternoon merienda, or on the go. People often drink Mate Cocido with it, either plain or with milk. Or just a cup of coffee with milk.
With its combination of cassava starch, cheese, and fat, chipa is quite filling and is usually eaten without anything on the side.
Chipa is also often eaten as tereré rupa. In Paraguay, this means a small meal before drinking tereré, often in the morning.
In the countryside, chipa is often baked in a Tatakua, a wood-fired clay oven. Many people also use it to make Chipa Guasu and other dishes. Today, chipa is also commonly baked in an electric oven.
Another popular breakfast dish made with cassava starch and cheese is Mbejú. It is cooked as a flatbread in a skillet.
Chipa Apo and National Chipa Day#
Chipa is especially important during Holy Week in Paraguay. The whole family often comes together to bake chipa. And they usually make more than just a few rings: large batches are common.
This shared baking is called Chipa apo. Families often get together for it as early as Wednesday of Holy Week (Miércoles Santo). It is about more than baking: families spend time together and pass on recipes and techniques.
Chipa also has a special place in Paraguay beyond Easter. On the second Friday in August, it even has its own national day, the Día Nacional de la Chipa.
The cities of Eusebio Ayala (formerly Barrero Grande) and Coronel Bogado are especially well known for their chipa traditions and chiperías.
❓ Frequently Asked Questions About Chipa Almidón#
Does Chipa almidón need yeast or baking powder?
How long does chipa keep?
Let any leftover chipa cool briefly, then put them in a covered container in the refrigerator and eat them within two days.
Reheating tip: Moisten the pieces with a little milk and warm them in a hot oven for a few minutes. This will make them a little softer, although they will not have quite the same texture as freshly baked chipa.
Can I freeze Chipa almidón?
Yes, you can freeze chipa before or after baking. For unbaked rings, freeze them separately on a baking sheet first, then transfer them to airtight packaging.
You can bake them straight from the freezer. They will need a little longer in the oven. If you froze chipa after baking, thaw them in the refrigerator before reheating.
Is Chipa almidón gluten-free?
📌 Conclusion#
Making Chipa almidón is mostly about getting a feel for the dough. As you knead, you will see how much milk it needs. With a little practice, you will find the right consistency and can enjoy freshly baked Paraguayan cheese rings at your own breakfast table.
If you still have cassava starch and cheese left, try Mbejú next. This flatbread is quick to make in a skillet. For more ideas, take a look at our collection of cassava recipes from Paraguay.
Enjoy baking, and buen provecho!
Did you find this recipe helpful? I’d appreciate a like . And if you know someone who would like to bake chipa, feel free to share this post with them.
✨ A Little Extra for You#
Recipe at a glance
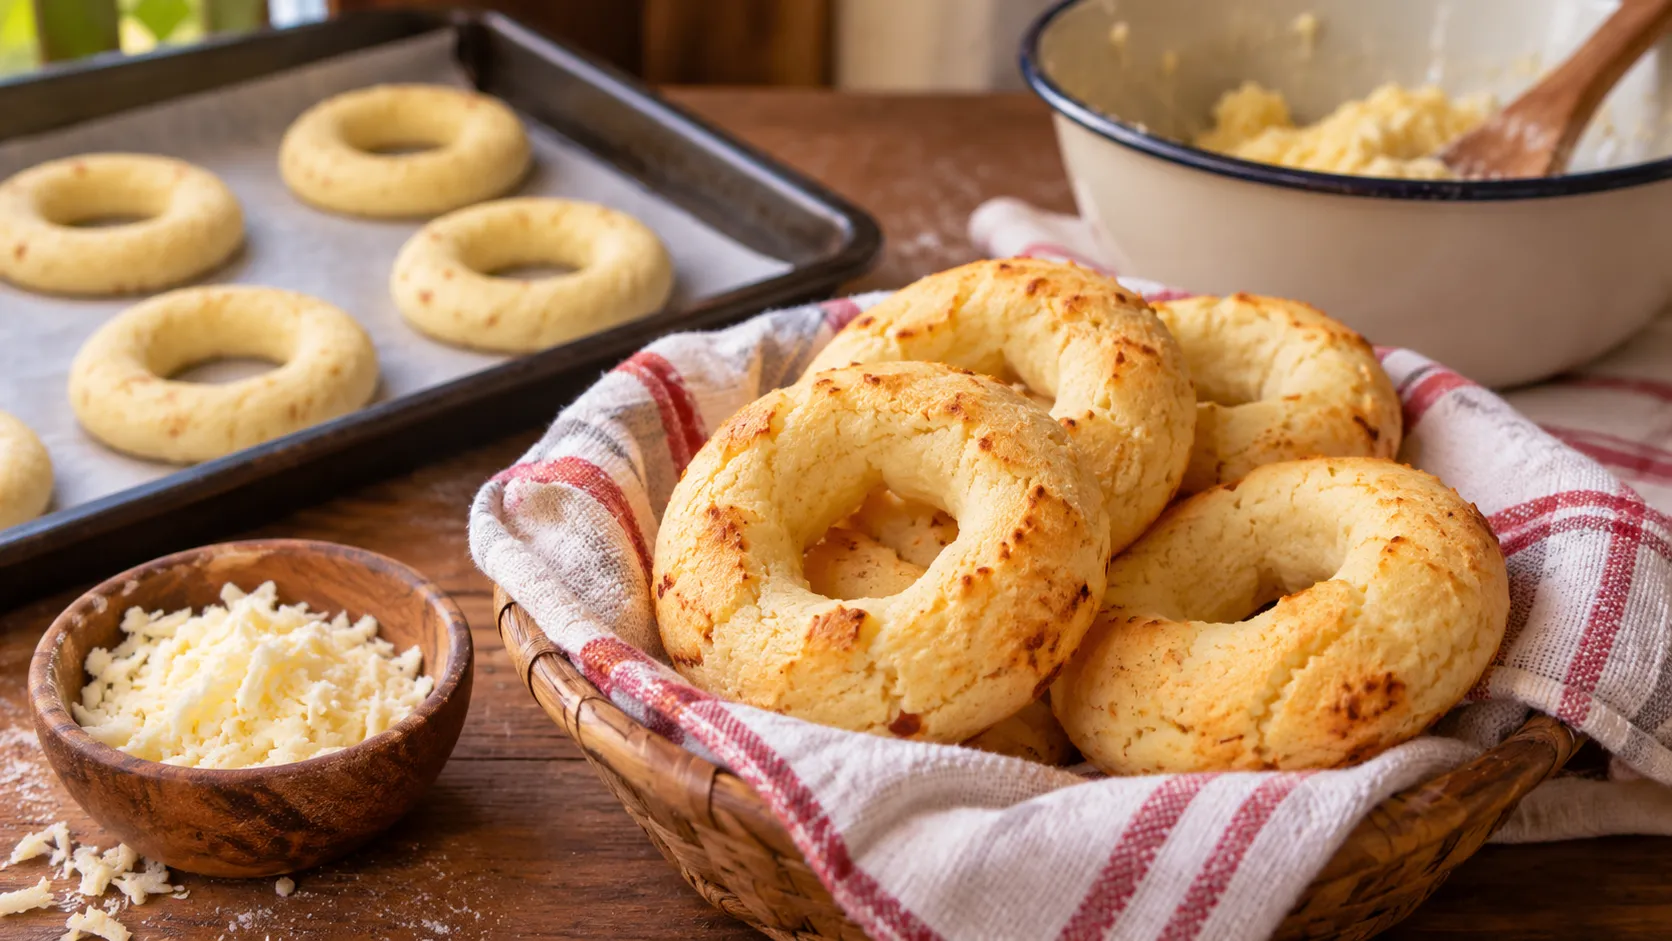
Chipa almidón
Traditional Paraguayan cheese rings made with cassava starch and cheese, without cornmeal. Fresh from the oven, they are slightly firm on the outside and soft inside.
- Prep time
- about 25 minutes about 25 min
- Cook time
- about 20 minutes about 20 min
- Total time
- about 45 minutes about 45 min
- Servings
- about 12 rings
- Difficulty
- easy
- Calories
- about 320 kcal per piece about 320 kcalper piece
Ingredients
Makes about 12 rings:
- 500 g cassava starch (almidón de mandioca, pure tapioca starch)
- 250 g Queso Paraguay
- 125 g lard
- 2 eggs
- about 100 ml milk, as needed
- ½ tsp anise seeds, optional
- ½ tsp fine salt, adjust depending on how salty the cheese is
Instructions
- Prepare the oven and ingredients: Preheat the oven to 230°C (450°F) on the regular bake setting and line a baking sheet with parchment paper. Crumble the Queso Paraguay and have the milk ready.
- Combine the lard, cheese, and eggs: Mix the softened lard and crumbled cheese with your hands. Add the eggs and mix until evenly combined.
- Add the starch and seasonings: Work in the cassava starch, optional anise seeds, and a little salt to start. Mix everything together and add the milk gradually until you have a soft dough that is easy to shape.
- Check the dough: Roll a small portion of dough into a rope and gently bend it into a ring. It should hold together without deep cracks or leaving a sticky film on your hands. If the dough is crumbly, add a little milk and check again.
- Shape the rings: Divide the dough into about twelve equal portions. Shape them into ropes roughly as thick as your thumb, join the ends to form rings, and place them on the baking sheet with a little space between them.
- Bake and check for doneness: Bake on the middle rack for about 15 to 20 minutes. Check toward the end: the tops and bottoms should be lightly colored, and the inside should no longer be raw or sticky. Baking time depends on the size of the rings and your oven.
- Let cool briefly: Let the chipa rest on the baking sheet for a few minutes, then serve them while they are still warm if possible.